

Anaconda is a Python distribution used for machine studying, information science and built-in improvement setting. Nevertheless, the provide is just not restricted to Python.
It helps open supply libraries reminiscent of TensorFlow, PyTorch, SciPy, scikit-learn, and many others., that are used for information science and machine studying.
Let’s check out among the open-source instruments supported by Anaconda which can be used for scientific computing:
- OpenCV – It’s a pc imaginative and prescient and machine studying library for C++, Java and Python with help for all main working programs.
- Tensor present – An end-to-end machine studying platform for coaching ML fashions with APIs for Java, C++, Javascript, and Python.
- Bokeh – It’s a information visualization library for net browsers that gives instruments and widgets to raised visualize the specifics of your information.
- Spyder – An IDE that comes with Anaconda and offers an entire improvement ecosystem for information scientists and machine studying of us.
- Conda – It additionally presents a package deal supervisor referred to as conda, which is used to handle and set up packages for numerous programming languages reminiscent of Python, R, and Julia. Python, when put in independently, features a package deal supervisor referred to as pip, which is an alternative choice to conda. The pip package deal supervisor downloads packages from the Python package deal index – it is like npm however for Python.
Anaconda utilization eventualities
What makes Anaconda wealthy is the help for a wide range of packages that can be utilized for the next domains:
Course of picture
With help for libraries reminiscent of OpenCV and scikit-image, anaconda proves to be an environment friendly package deal for picture processing and pc imaginative and prescient initiatives. Picture manipulation, evaluation, processing, cleansing, restoration and rather more will be executed utilizing these open-source libraries.
Knowledge evaluation
Anaconda’s strong ecosystem of libraries and instruments can be utilized for information manipulation, pre-processing, and offering helpful insights into information.
Libraries reminiscent of Pandas and Numpy allow information scientists to research, clear and manipulate information in a structured and managed method.
Knowledge visualization
An Anaconda challenge referred to as Holoviz is a Python primarily based information visualization instrument that features Panel, hvPlot, Datashader and plenty of extra Python packages to make information visualization extra highly effective and correct.
Knowledge visualization may be very helpful for visually speaking concepts and ideas via information. Efficient visualizations assist enhance choice making by speaking patterns within the information.
Machine studying
Tensorflow, Pytorch, and scikit-learn are libraries supplied by Anaconda for machine studying associated initiatives.
Pure language processing
For NLP teachers and builders, Anaconda offers an appropriate setting to experiment with totally different algorithms and techniques. NLP libraries supported by Anaconda are NTLK, gensim and spaCy.
So, in abstract, Anaconda is a bundle or a distribution of instruments and libraries helpful in information science and machine studying.
That stated, let’s check out the Anaconda set up course of.
Set up Anaconda

Necessities
Minimal 5 GB disk area
Anaconda will be put in by downloading an installer that’s technically a bash script, verifying the hash, and working it.
#1. Obtain the script
You possibly can obtain the installer from the Anaconda official web site and run it. Nevertheless, if you wish to obtain an older launch, you are able to do so through the use of ‘curl’. You’ll find bash scripts for all Anaconda releases right here.
curl https://repo.anaconda.com/archive/Anaconda3-2023.03-1-Linux-x86_64.sh#2. Confirm the sha256 hash
As soon as that is executed, you will have to confirm the hash of the file towards the hash listed right here. Verifying the hash is essential to make sure that the file has not been tampered with and to stop malicious scripts from working in your system.
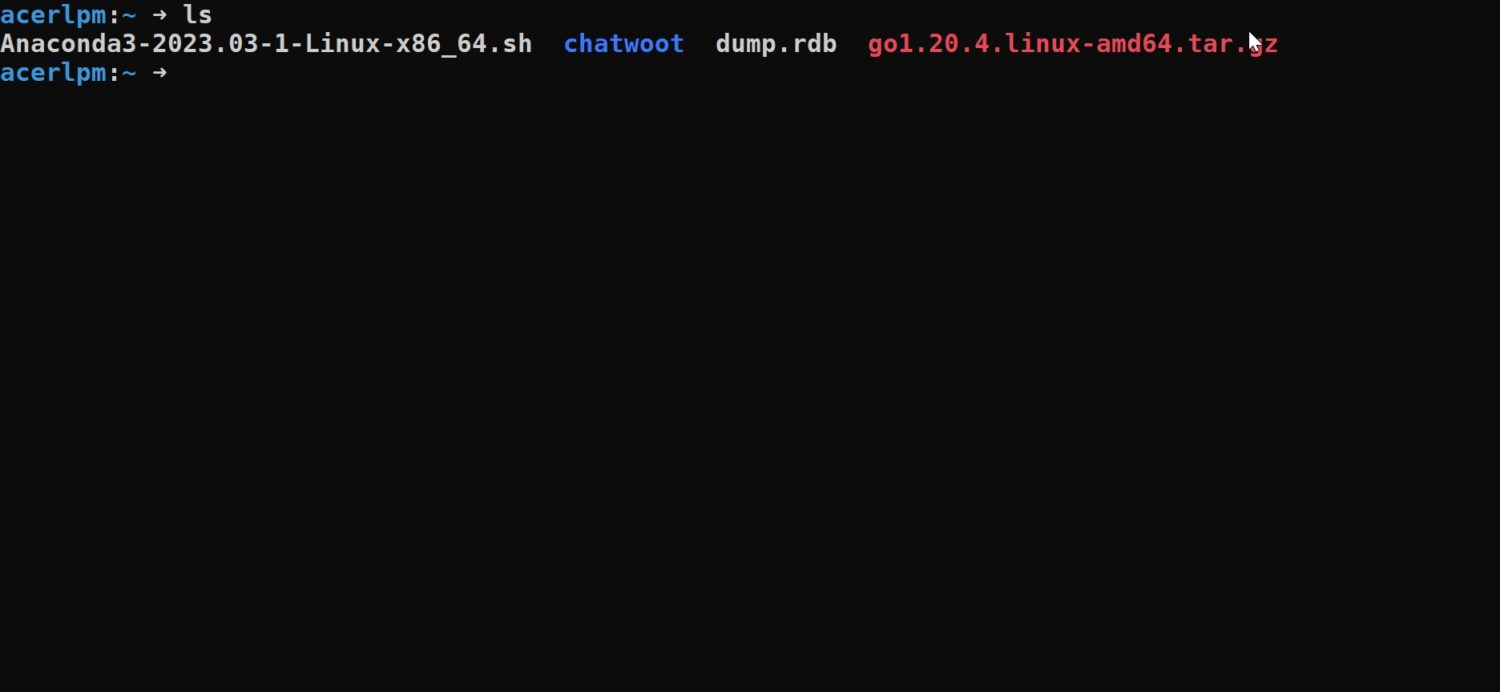
For this you want the file identify of the bash script. You will get the file identify of the script utilizing the ls command.
Get the hash utilizing the next command:
sha256sum your_bash_script_filename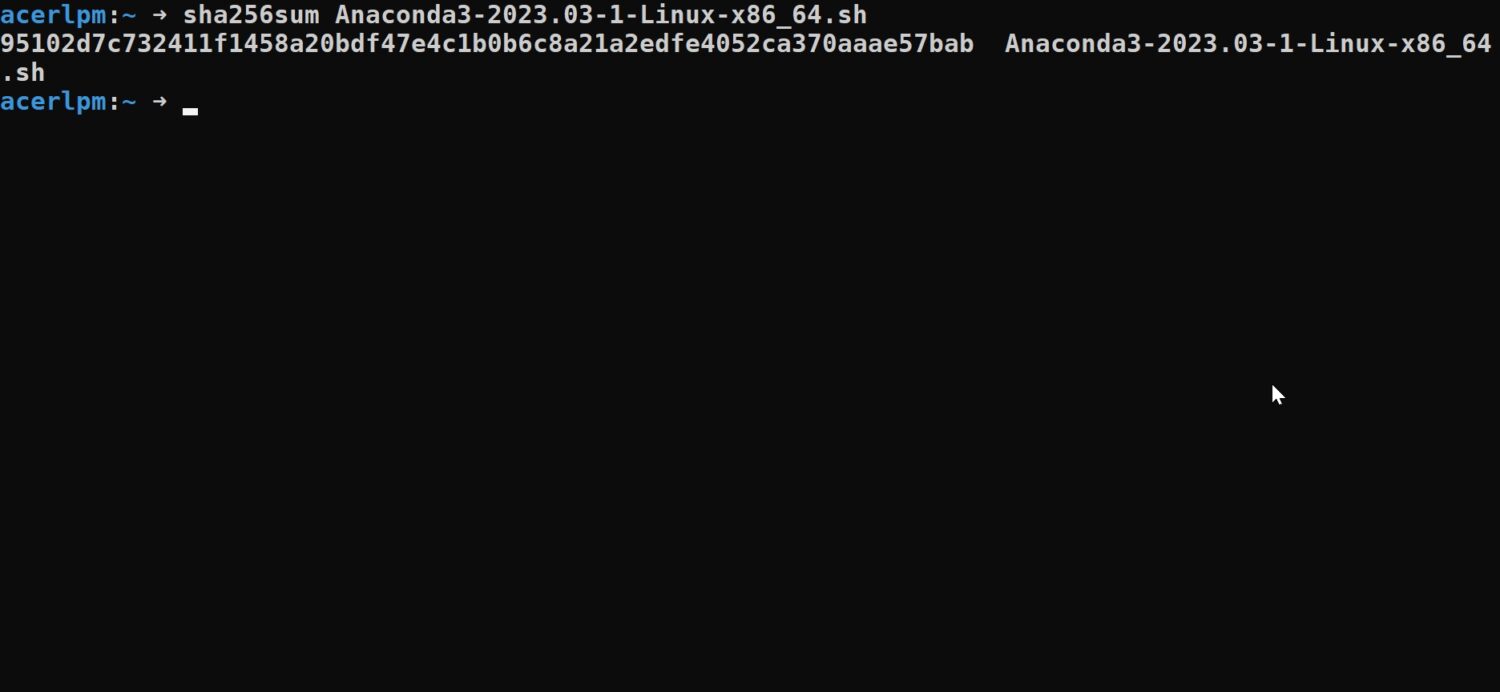
Examine the hash you acquired towards the hash listed on Anaconda’s web site in your particular set up kind. In the event that they match, you are good to go!
#3. Run the bash script
Then run the bash script with the next command:
bash bash_script_name.shYou’ll then be requested to conform to their licenses and settlement. Enter “sure” to proceed. You’ll then be prompted to confirm the placement of the set up.
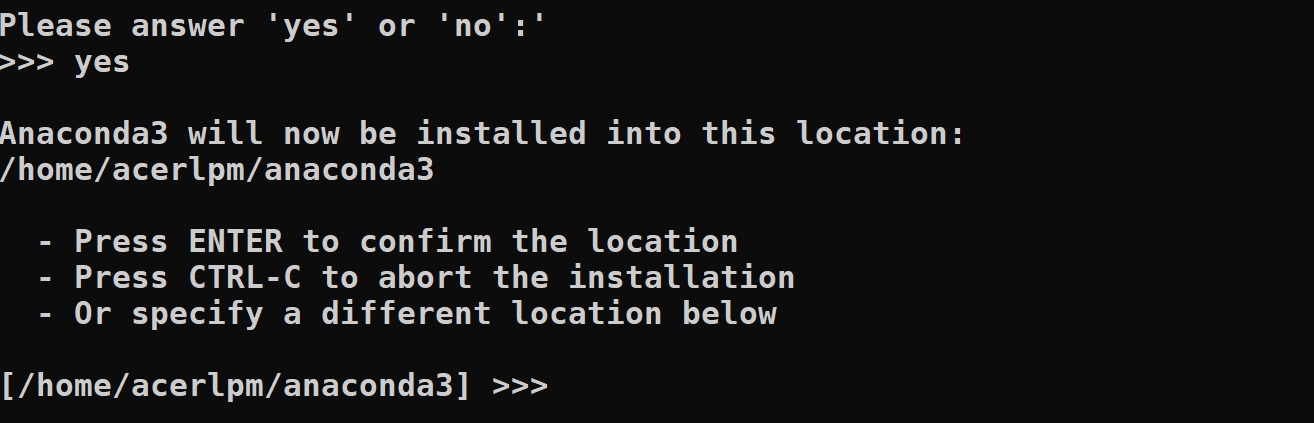
The set up will now start. As soon as it’s profitable, you’ll obtain a message to initialize anaconda conda init. Sort “sure” if you want.
#4. Activate Anaconda
If you wish to activate the anaconda later, you should use the next command:
supply <conda set up path>/bin/activate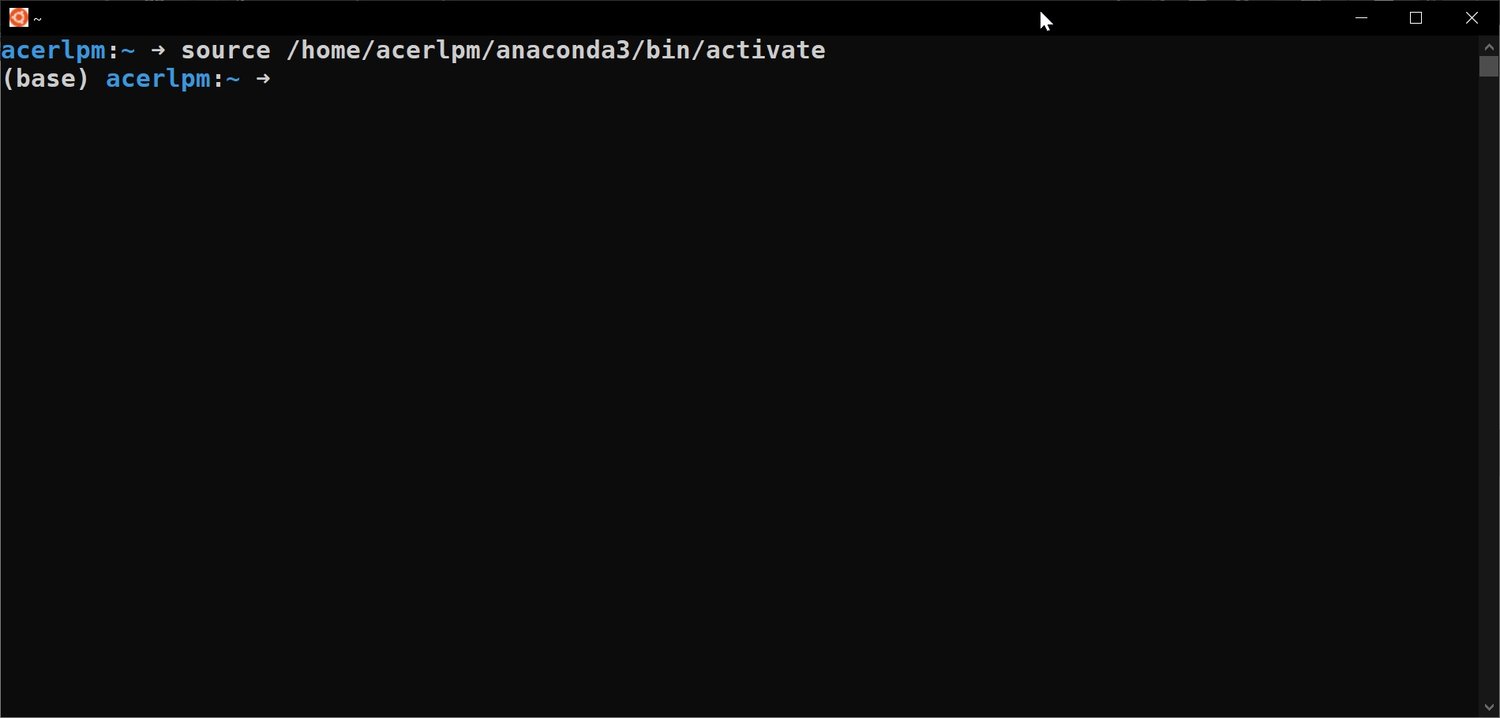
After which run conda init. After that, you want to restart your terminal.
#5. Add PATH to anaconda set up
Additionally add the trail manually to your Anaconda set up in case you selected to not initialize conda throughout set up. You are able to do this by including the next line to your ~/.bashrc file. Simply exchange <anaconda set up path> with the precise set up path.
export PATH=<anaconda set up path>/bin:$PATHThat’s it; you might have efficiently put in Anaconda on Ubuntu! You possibly can confirm the set up utilizing the next steps.
#6. Confirm set up
Restart your terminal and sort conda listing. This command lists all of the packages at the moment put in in your system.
conda listing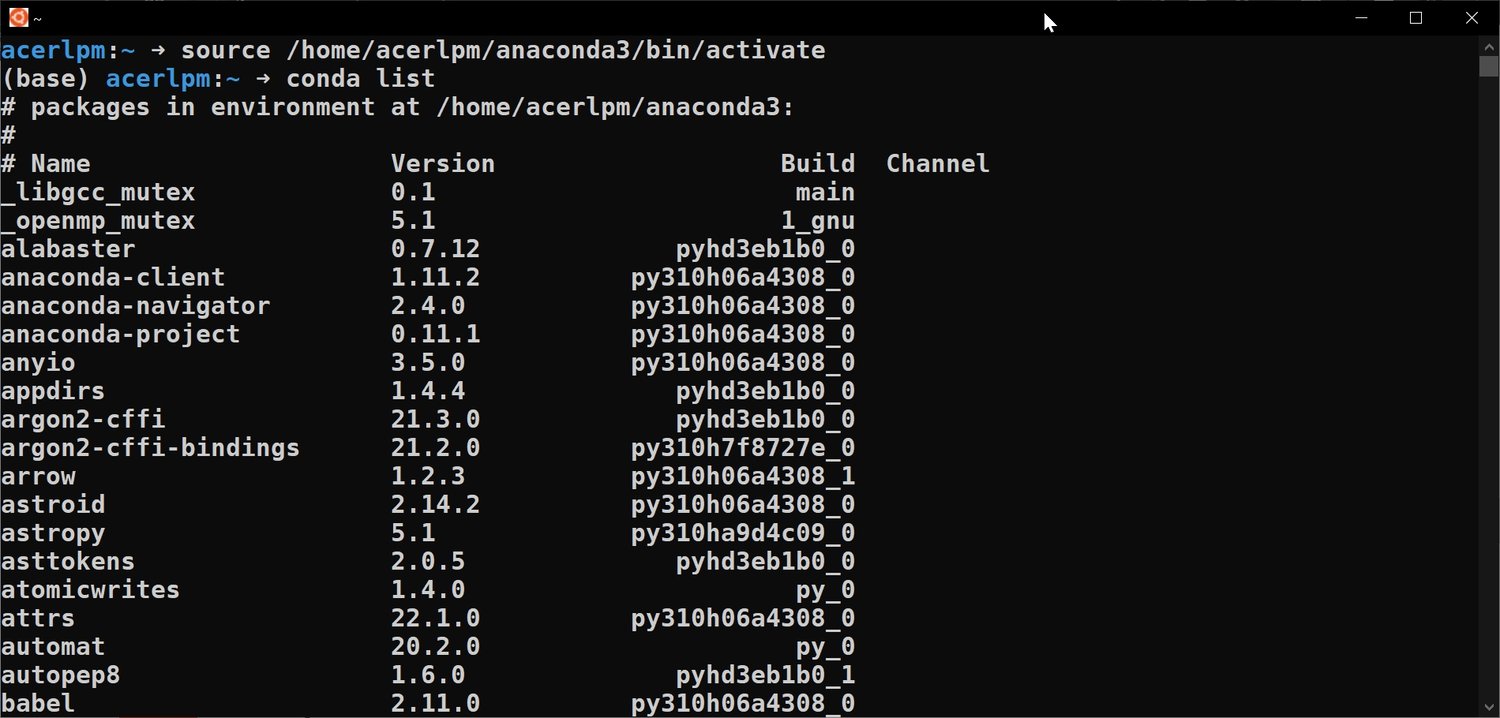
Or else you possibly can confirm the model of Python put in by Anaconda.
python --versionArrange environments
Environments in Anaconda are a good way to isolate totally different installations of Python and different packages particularly required for a given challenge. Every setting is like an remoted field containing its personal model of Python and a set of related packages.
#1. Create environments
While you activate Anaconda for the primary time, you will discover your self within the base setting indicated by the (base) key phrase proper earlier than your terminal path.
To create a brand new setting use the next command and simply exchange the <<env_name>> with the identify you need this setting to be acknowledged by:
conda create --name <<env_name>>You will notice the next output whereas creating the setting.
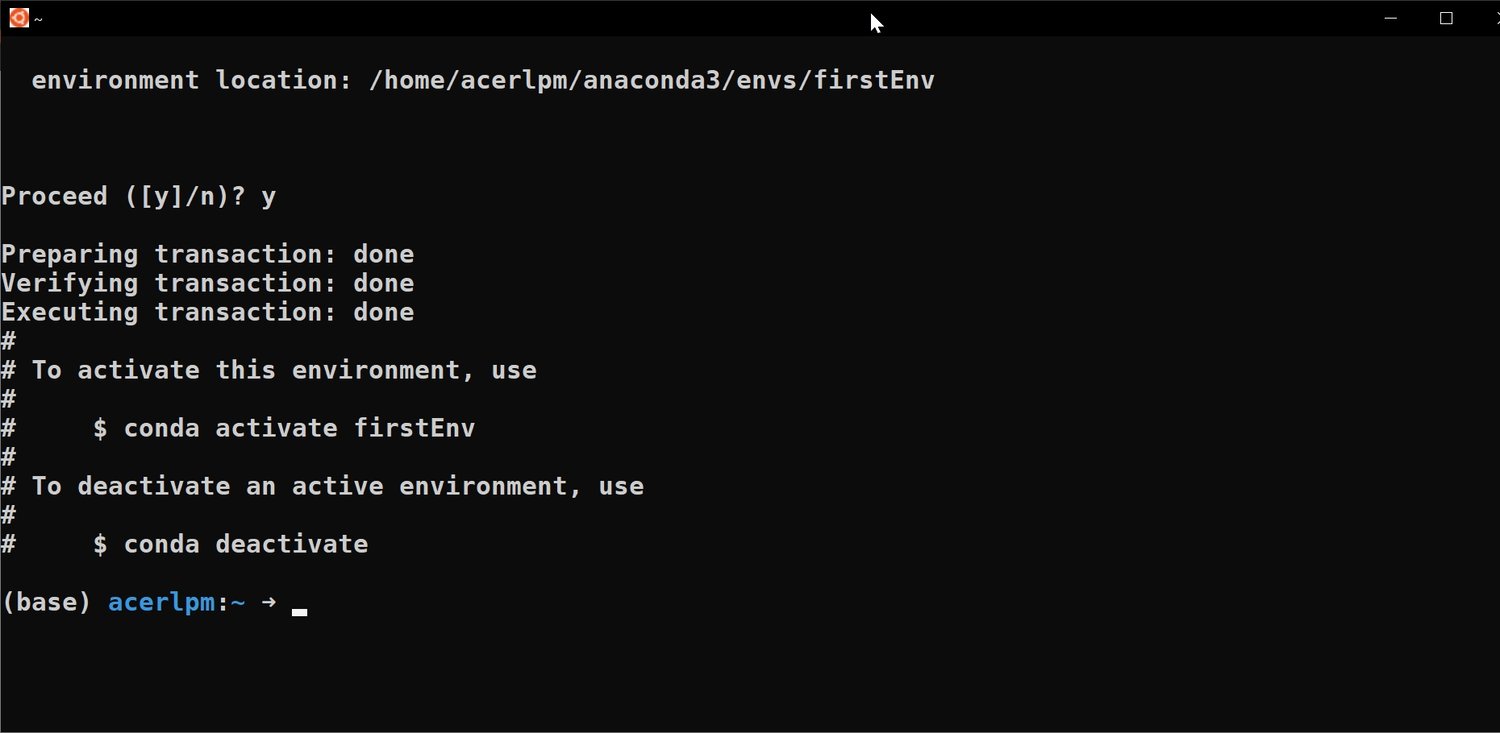
To be able to use a selected setting, you need to run conda activate <<env_name>> of <<env_name> being the identify of the realm.
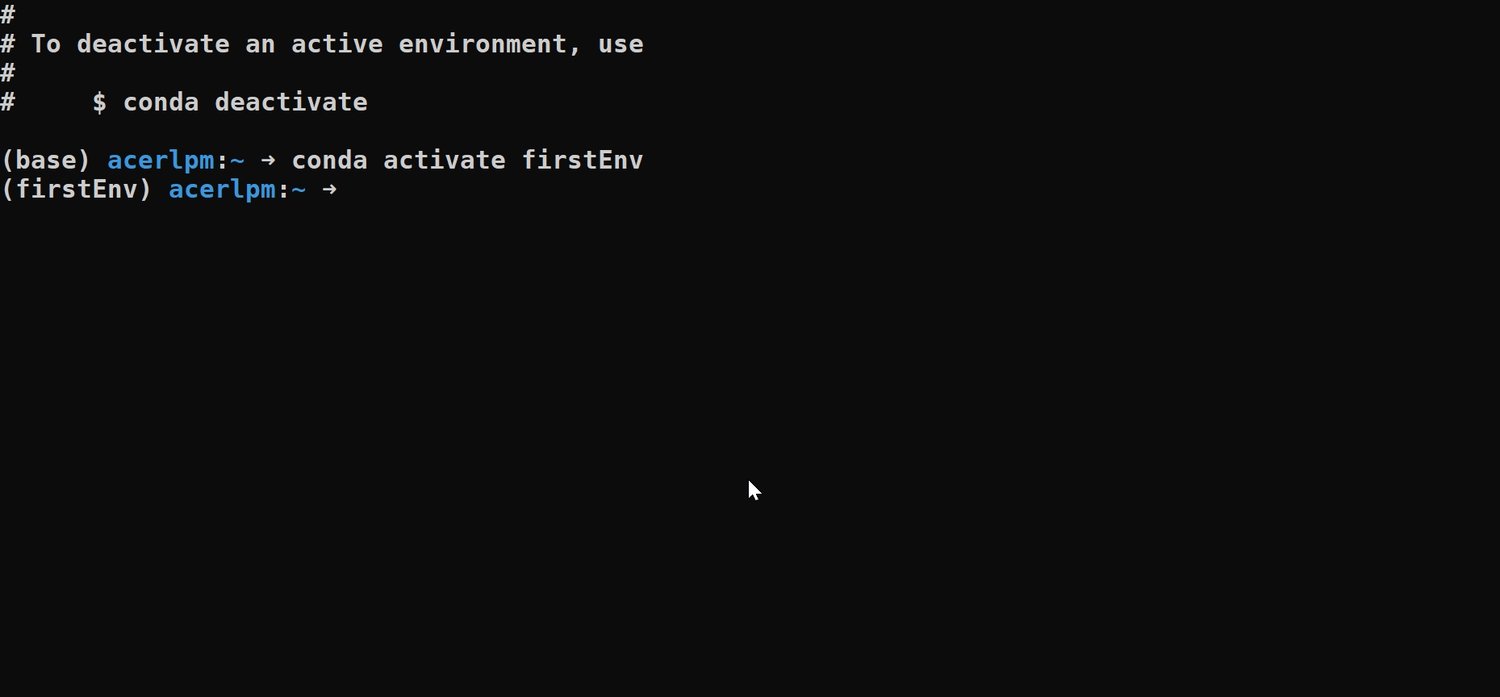
You need to see the identify of the setting simply earlier than the terminal path.
#2. Create environments with packages
When creating the setting, you can even specify the Python model that might be utilized in that setting.
conda create --name <<env_name>> python=<<python_version>>If you wish to use the most recent model of Python, simply do:
conda create --name <<env_name>> python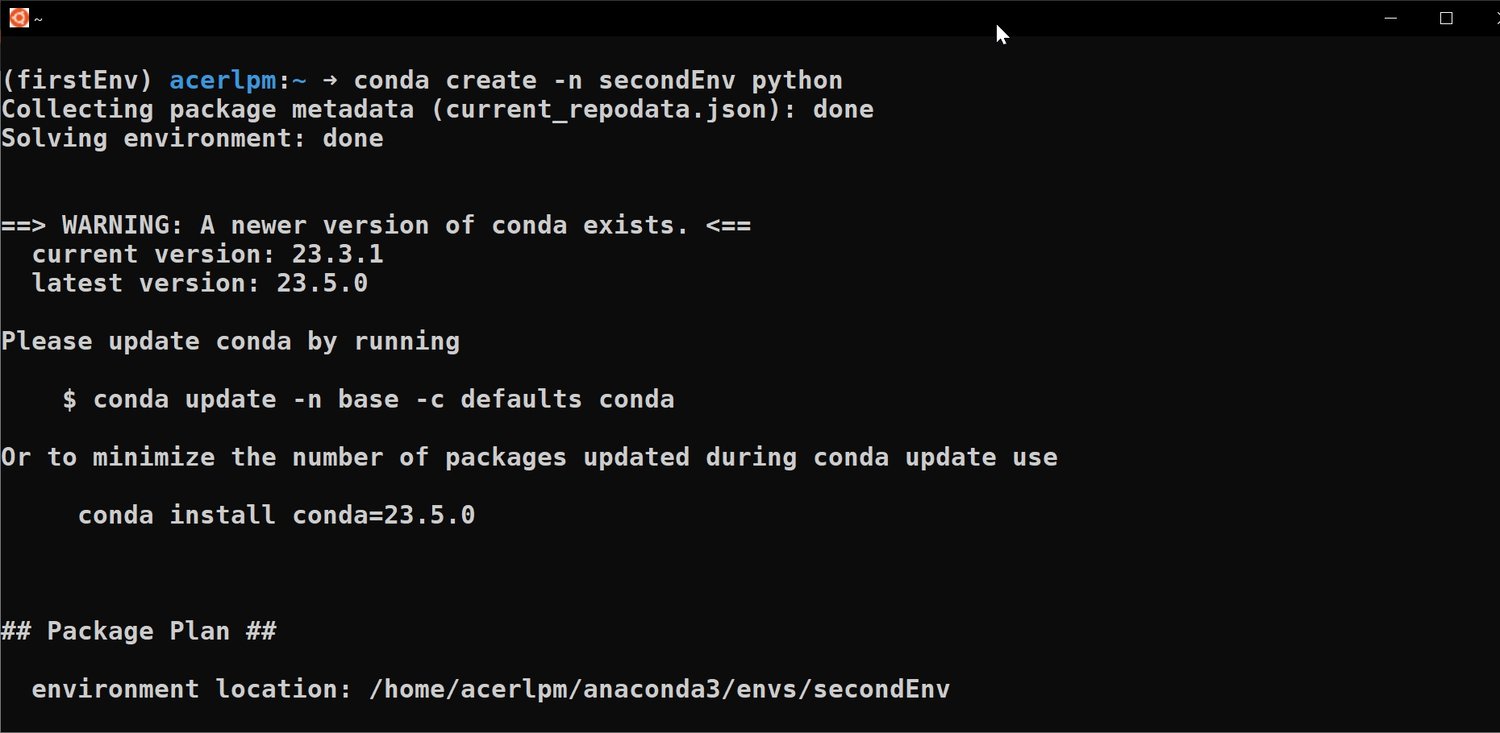
#3. Listing of all environments
To listing all environments, enter the next command within the terminal:
conda env listing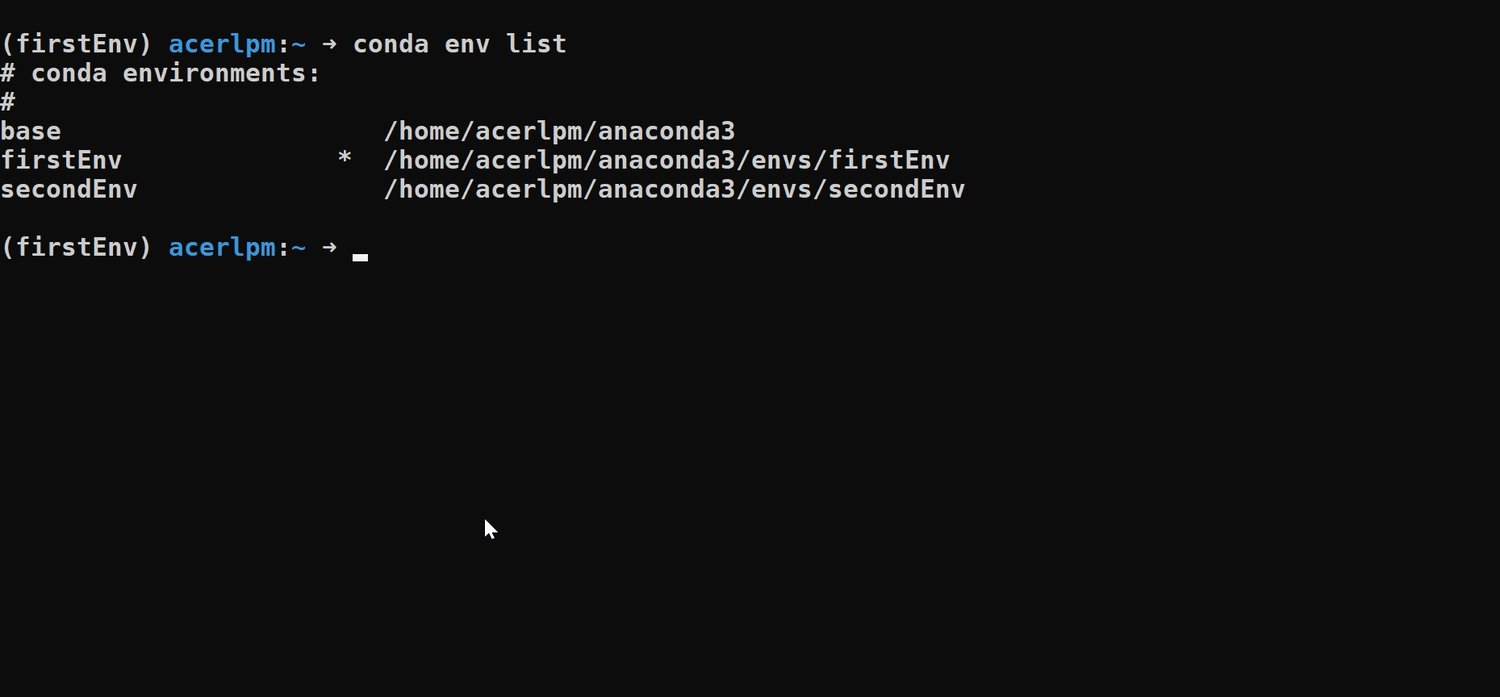
Final phrases
Anaconda has confirmed to be helpful for scientific computing because it presents environmental stewardship, pre-installed packages, and an entire developer-friendly ecosystem.
Knowledge scientists and researchers profit by focusing solely on information evaluation and analysis as an alternative of worrying about software program technicalities.
Do you need to begin a profession in information science and machine studying? Right here you will discover Knowledge Science and Machine Studying assets that can assist you start your journey.