

If you’re undecided tips on how to redirect your WordPress URLs, then this text will clear the cloud of doubts over your head.
URL redirection, also referred to as URL forwarding, is a method used to actually redirect your web site’s customers from one area or web page to a different. It’s attainable to decide on any net web page on the web that your guests might be redirected to, however it’s often used to redirect them inside the similar web site.
There could also be a number of circumstances the place you wish to redirect sure URLs of your WordPress weblog. Chances are you’ll wish to delete a weblog publish, however as an alternative of deleting it, you possibly can redirect it so that you could use the major search engines it at the moment receives.
It additionally saves you that you simply present that enormously 404 not discovered error in your guests coming from social media shared posts, which can’t be deleted in a single day.
One other instance is altering the URL construction and even migrating content material from one area to a different. It might sound like a easy course of, nevertheless it is among the most intricate issues to bear for somebody who has by no means executed something prefer it earlier than.
Nonetheless, there isn’t a want to fret as there are a number of methods to go about this and that’s what I’m going to point out you as we speak.
With out additional ado, let’s get into the strategies.
Plug in
Let’s begin with the straightforward ones.
Redirection is the preferred alternative and may handle 301 redirects, 404 errors, and different unfastened ends of your web site.
You do not want Apache or Nginx information to create and handle redirects with this plugin. Set up it and get began immediately in a couple of straightforward steps. After putting in and activating the plugin, you will note a display screen like this.
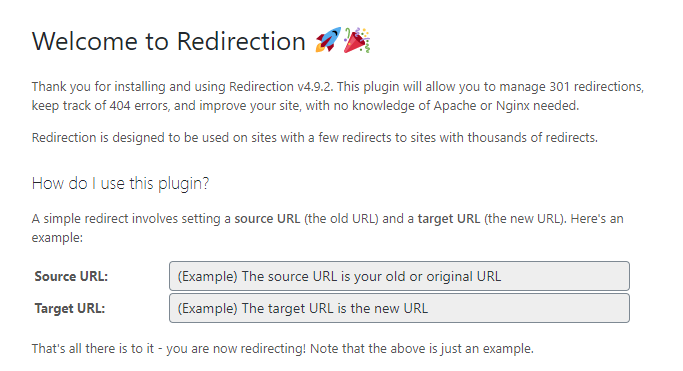
Simply enter your supply URL and your goal URL for the redirect to deal with. That is all there’s to make this work.
By way of cPanel
In the event you do not wish to use a plugin to redirect URLs and do not wish to use cPanel internet hosting, this selection is appropriate.
The method is tremendous straightforward and easy.
Step 1: Go to your internet hosting cPanel and underneath “Domains” click on on “Redirects”. It’s best to see a display screen just like this with a number of choices to select from.
Step 2: From the “Kind” drop-down listing, you must choose the type of redirect you wish to carry out, be it everlasting (301) or non permanent (302). Relying on the hyperlink you wish to redirect to, it needs to be straightforward to decide on between the 2 choices.
Step 3: Within the second drop-down menu, you must choose your area + present web page tackle.
Step 4: After getting executed that, within the final area you must kind within the net web page tackle, which ought to exchange your present web page tackle.
Click on “Add” and also you’re executed.
utilizing .htaccess
Most shared internet hosting platforms provide this characteristic.
That is one other methodology that works out of your web site’s backend. Altering your .htaccess file could seem to be a delicate matter, and it’s, however with the appropriate steps, you possibly can simply do it efficiently.
I like to recommend making a backup earlier than continuing with this methodology, simply in case. After getting executed that, comply with the steps under:
Step 1: Go to your internet hosting’s cPanel and scroll down till you see the “Information” part. Click on on “File Supervisor” under.

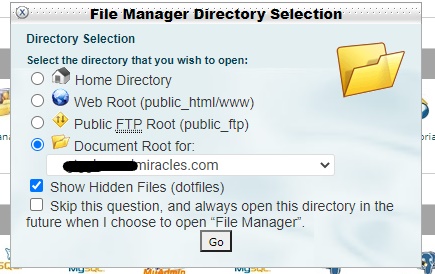
Step 2: Within the new pop-up window, choose “Doc Root for” and select the specified area. Additionally, do not forget to test the “Present hidden recordsdata” field and click on “Go”.
Step 3: A brand new window will open containing all types of necessary recordsdata out of your web site. You need to search for the .htaccess file, proper click on on it and choose “Edit”.
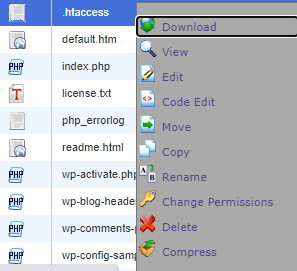
In case your file supervisor would not have a .htaccess file, you may must create one by clicking “New File” within the high left and giving it a reputation .htaccess
Step 4: When you’re within the .htaccess editor, copy and paste this for a everlasting (301) redirect:
Redirect 301 /oldpage /newpageYou need to exchange /oldpage with the URL path you wish to be redirected to and /newpage with the URL path, which ought to exchange the previous URL path. For instance, if you wish to redirect your contact web page to your weblog publish, write it within the .htaccess editor:
Redirect 301 /contact /weblogHave in mind; you shouldn’t paste the complete URL if you’re redirecting inside the similar area. A full URL is just used if you’re redirecting from one area to a different. In that case it could seem like this:
Redirect 301 /contact https://instance.com/weblogAfter you could have completed modifying the .htaccess file, click on “Save” and your previous URL will efficiently redirect your new URL.
In the event you need assistance producing redirect code, you need to use this software.
MyKinsta
Kinsta, a premium managed internet hosting, provides many nice options, together with redirection by means of the MyKinsta dashboard.
Step 1: Log in to your Kinsta account and click on in your web site.
Step 2: Click on on ‘Redirects’ after which on ‘Add redirect rule’.
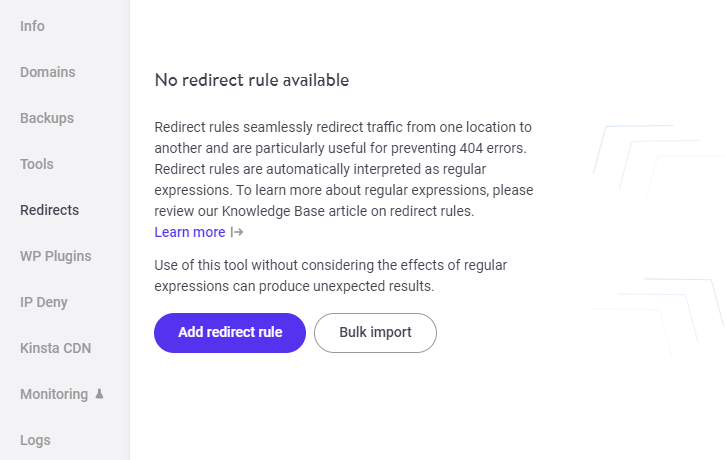
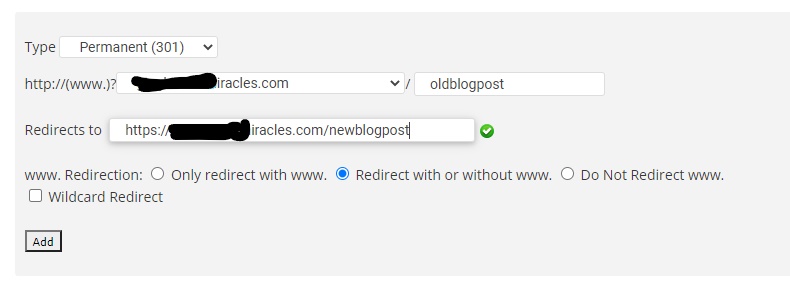
Step 3: Now a popup seems. You should select your area, your previous web page, which ought to redirect, and the brand new web page, which ought to take its place. Here is tips on how to do it.
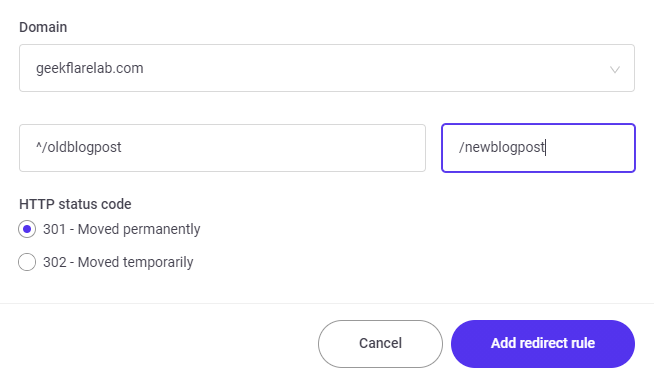
Evidently, oldblogpost And newblogpost replaces your individual URL paths you wish to redirect to.
Additionally, you will discover how I added ^/ earlier than the primary URL path and / earlier than the second URL path. That is as a result of Kinsta routinely makes use of regex for the URLs, making it crucial to incorporate these symbols, in any other case your redirect would break or find yourself on completely different pages in your web site with an identical URL construction.
Step 4: Select the redirection kind (301/302).
As soon as you have executed all that, click on “Add Redirect Rule” and that is it.
Cloudflare Guidelines
In case your web site makes use of Cloudflare, you too can run the redirect from there. Simply log in and comply with the easy steps under:
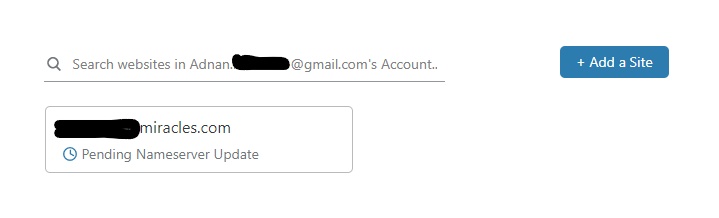
Step 1: On the house web page, click on the area you wish to ahead the hyperlinks to.
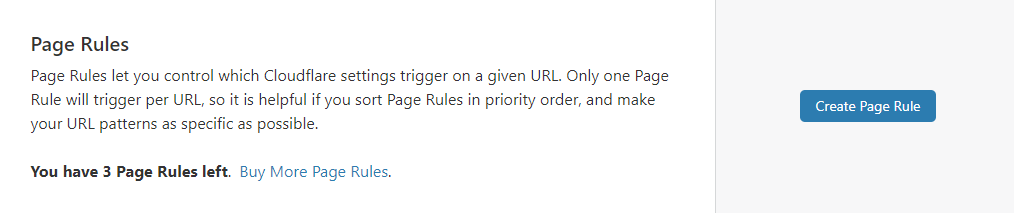
Step 2: Click on on one of many tabs on the high that claims “Web page Guidelines.”

Step 3: Click on the “Create web page rule” button.
Step 4: You will note this dialog seem. Go forward and enter the specified URL within the first area. After that, underneath the settings select ‘Forwarding URL’ and 301 or 302 redirect as per your necessities. Lastly, enter your vacation spot URL.
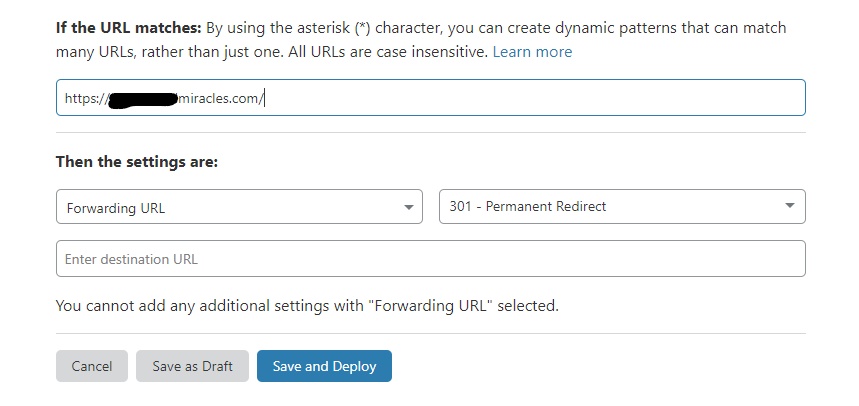
Step 5: As soon as all the things is populated, click on ‘Save and Deploy’ to get the job executed.
SiteGround
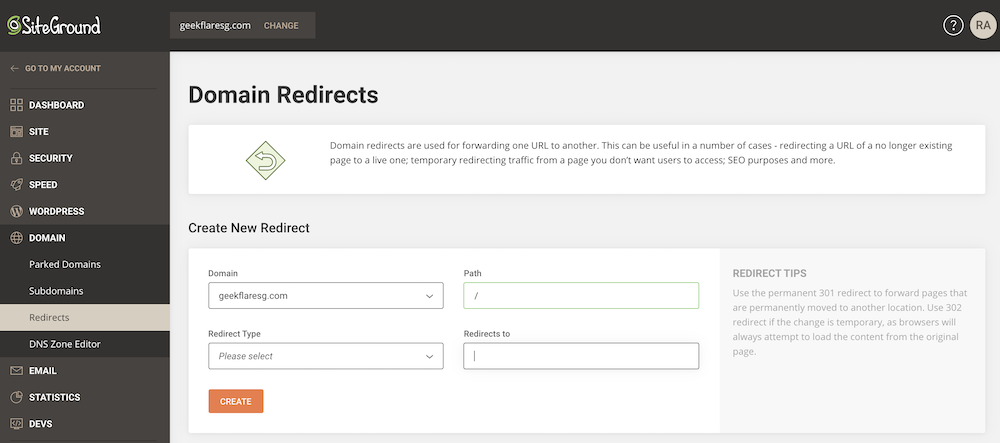
SiteGround has been introducing plenty of new stuff recently. Certainly one of them provides their bespoke management panel the place you possibly can simply carry out redirection. This clearly works when your web site is hosted on SiteGround.
- Go to SiteGround >> Web sites and choose a web site.
- Go to Web site Instruments and navigate to Area >> Redirects.
- Enter the trail right here and kind redirect and Create
Conclusion
There you could have it: the completely different strategies to simply redirect your WordPress URLs. I hope you discovered this tutorial as straightforward as they really are. 🙂
Subsequent, learn the way to improve the PHP model of your WordPress websites.